
Installing a wall-mounted nightstand may seem simple on paper: two screws, a shelf, and you’re done. In reality, the type of wall, the weight of the furniture, and the height of installation change everything. A poorly calibrated fixture can end up tearing the drywall in a few weeks, along with the bedside lamp. Here are the technical points to master for a reliable and durable installation.
Anchors and wall type: the real starting point
Before even taking out the drill, ask yourself a simple question: what is your wall made of? The answer determines the choice of anchors, and thus the strength of the entire installation.
You may also like : Practical tips for hanging decorations on your outdoor walls
A concrete or solid brick wall can accept standard expansion anchors. The material is dense, the screw bites into it, and the load holds. With a drywall partition (gypsum boards on a metal frame), the situation changes radically. Drywall alone can hardly support anything in shear. You then need to use specific anchors, such as Molly expansion anchors, which deploy behind the board to distribute the load over a larger surface.
If you’re looking to understand how to fix a wall-mounted nightstand on drywall without unpleasant surprises, remember this principle: always aim for the metal frame or wooden stud behind the board when possible. A stud finder (available for a few euros at a hardware store) is enough to locate them.
Recommended read : How to Stretch a Tight Swimsuit: Practical Tips for More Comfort
On plasterboard tiles or cellular concrete, standard hammer-in anchors do not hold. Prefer special models for hollow materials, with a long threaded rod.
Mounting a wall nightstand on drywall: step-by-step method
Drywall remains the most common case in modern bedrooms, and the one that poses the most problems. Here’s the concrete procedure to follow.
- Locate the metal studs with a detector. Mark their position with a pencil. If two studs fall away from the desired location, you will need to use Molly anchors on the board alone, ensuring that the total load (furniture plus items placed on it) remains compatible.
- Drill to the correct size. The diameter of the hole must match exactly that of the anchor. A hole that is too large prevents proper expansion and reduces holding strength.
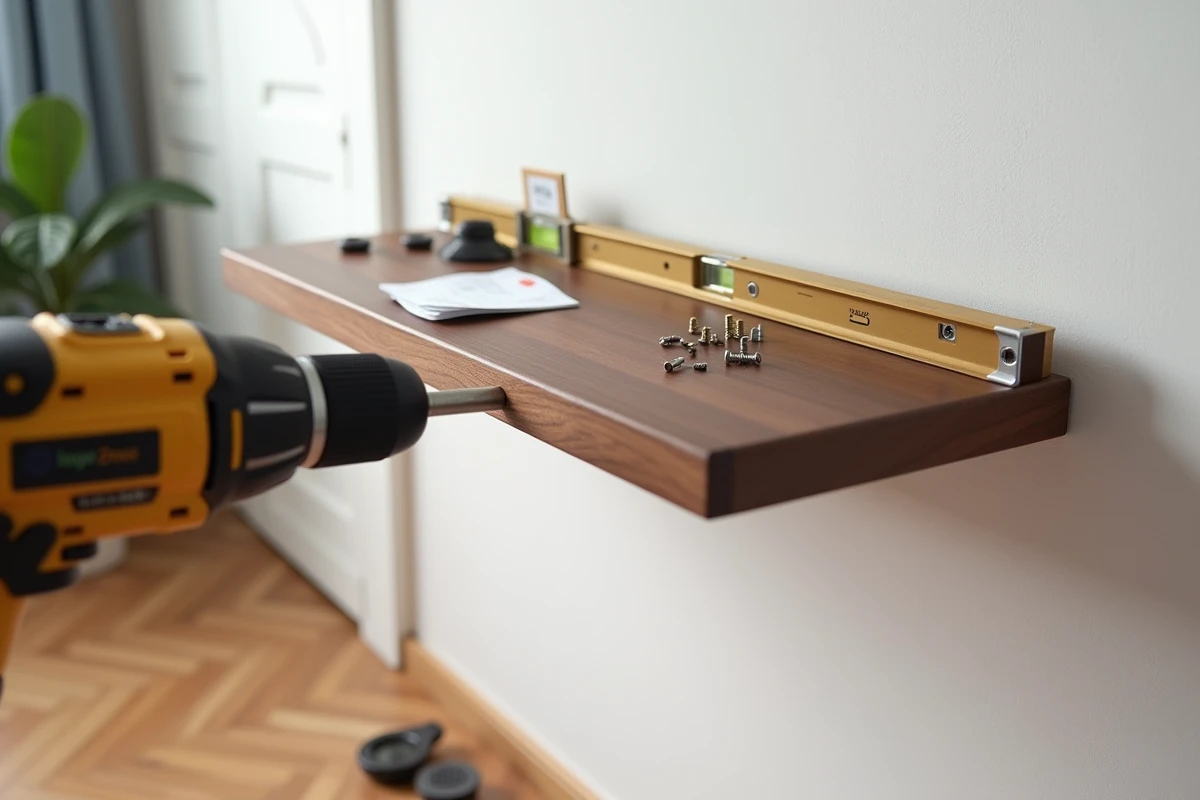
- Insert the anchors, screw in the mounting brackets provided with the nightstand or a wall mounting rail, then hang the furniture. Check the level before tightening everything down.
- Test the sturdiness by pressing firmly down for a few seconds. If the fixture moves or the drywall cracks, remove everything and start again on a stud or with a larger anchor.
A well-mounted wall nightstand should have no lateral play. Any movement indicates insufficient anchoring that will worsen over time.
Installation height and weight: two often overlooked parameters
Have you ever noticed that a nightstand that is too high or too low makes accessing the lamp or phone difficult? The installation height deserves as much attention as the mounting itself.
Finding the right height relative to the bed
The most reliable reference point is the top of the mattress. The top of the nightstand should be at the same height as the mattress, or slightly above. Sit on the bed, reach your hand out to the side: that’s where the top should be. Measure this distance from the floor, then transfer it to the wall.
If your bed is particularly high (slatted base on legs, thick mattress), the mounting will be higher on the wall, sometimes in an area where the drywall is less well supported by the frame. Check for the presence of a stud at that height before drilling.
Anticipating the actual weight of the loaded nightstand
The weight of the furniture alone is not enough to choose its fixings. Add the weight of what you will place on it: bedside lamp, books, alarm clock, glass of water, charger. Always allow for a safety margin of at least one third above the estimated weight.
Recent models sometimes include LED lighting or a USB port, which adds weight and wiring constraints. The routing of the wires must be planned before installation, not after, or you risk having to dismantle everything.

Wall-mounted nightstands with integrated lighting: an added constraint
Wall-mounted nightstands with LED lights or USB outlets are multiplying. They combine advantages (space-saving, no need for a separate lamp), but they require additional drilling to pass the cables, and sometimes a free volume behind the furniture for ventilation.
The product specifications for these models generally specify that the wall must be sufficiently strong and recommend anchors suitable for the material. This is not just a suggestion: an electrified nightstand that falls can cause a short circuit in addition to material damage.
Plan for the power cable routing before fixing the furniture. Two options: a groove in the wall (cleaner work, but heavier) or a discreet surface cable tray, painted the same color as the wall.
Storage and design: choosing a model suitable for your room
A wall-mounted nightstand frees up floor space, making it easier to vacuum and giving a sense of lightness in the room. Wooden models with drawers remain the most common, but versions in metal, cane, or a combination of wood and metal are gaining ground.
Before falling for a design, check two practical points. Does the furniture have an integrated mounting system (metal rail, plate, pre-drilled holes), or will you need to DIY a custom solution? A model without a clear mounting system will require more work and skills.
The second point concerns the depth of the nightstand. A model that is too deep extends beyond the edge of the bed and obstructs passage. Measure the available space between the bed and the wall before ordering.
A well-installed wall-mounted nightstand will last for years without moving. The time spent identifying the wall type, choosing the right anchors, and measuring the installation height prevents rework, unnecessary holes, and nighttime falls. Better to spend an hour preparing than a night regretting it.