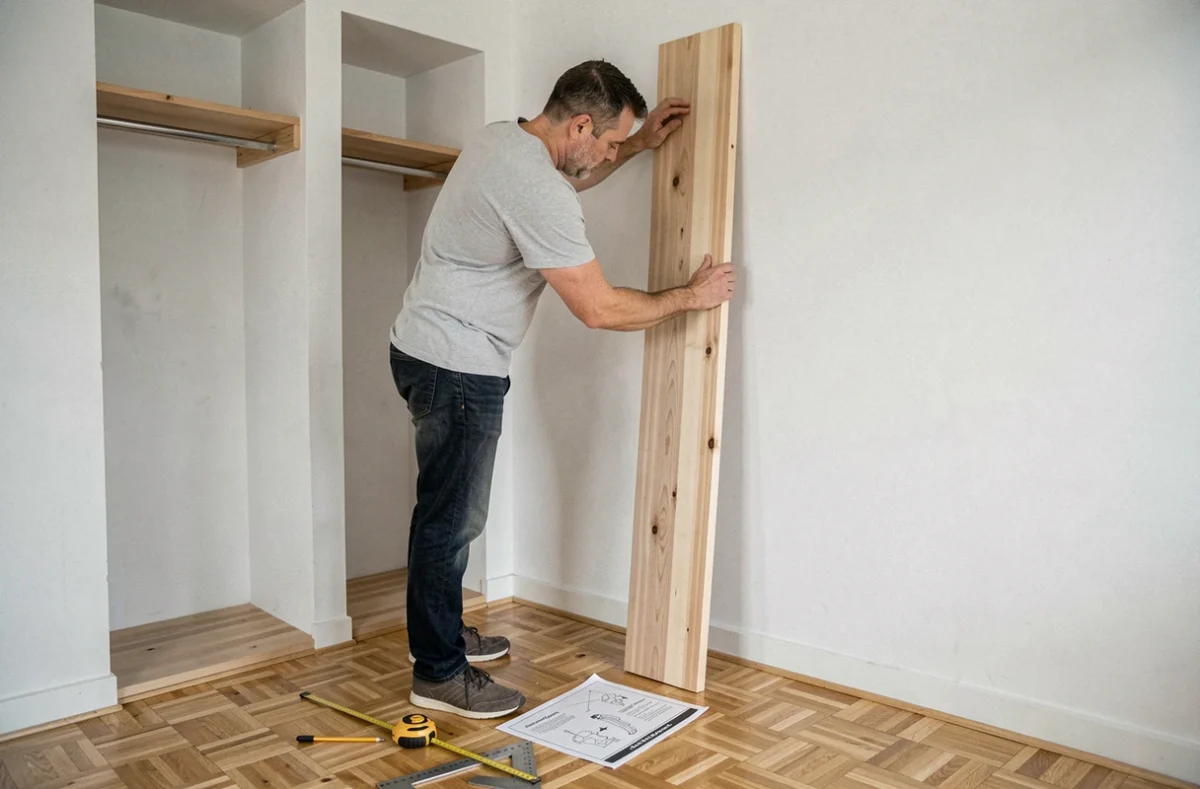
The side panel is the vertical board that closes off a storage unit or structure laterally. It provides both the rigidity of the whole and a neat finish against a wall or at the end of a piece of furniture. Installing this panel correctly is crucial for the stability of the entire dressing and the alignment of all internal elements (shelves, rods, drawers).
Check the plumb of the wall before fixing a side panel
A perfectly straight wall is rare, especially in older constructions. Placing a side panel directly against a wall that is not plumb creates a visible gap at the top or bottom of the panel, sometimes both. The panel may also end up under stress, which can deform the joints of the unit over time.
Before any cutting, measure the actual discrepancies of the wall with a spirit level or laser. Place the instrument at several points along the entire height intended for the panel. Note the dips and bumps on a quick sketch. These measurements will help decide whether the panel needs to be cut at an angle to fit the wall, or if a filler strip will bridge the gap.
The same check applies to the floor. An unlevel floor causes the entire structure to tilt. If the gap exceeds a few millimeters, shimming the base of the panel with adjustable thickness shims remains the most reliable solution to ensure a plumb dressing.
Before drilling, a material detector allows you to locate electrical cables and pipes in the fixing area. This check is particularly useful when the panel needs to be secured to the wall rather than simply assembled to the unit.
Knowing how to properly install a side panel means treating these preparations as a step in their own right, not just a quick glance before pulling out the drill.
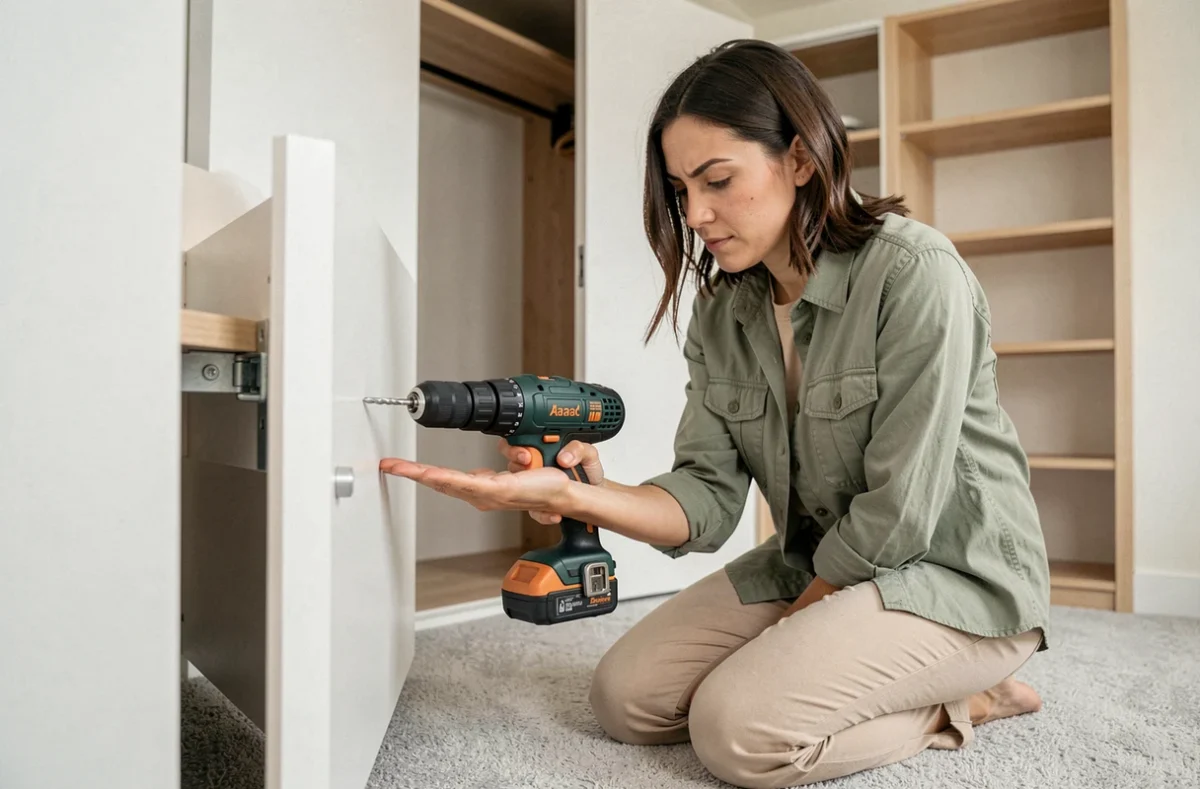
Choose the right fixing for the type of wall
Fixing a side panel to the wall is not just about screwing brackets. The choice of anchor depends entirely on the nature of the support: solid concrete, hollow brick, concrete block, or plasterboard on metal studs. Using the wrong anchor in a lightweight partition risks tearing under the weight of a loaded dressing.
Plasterboard partitions
Standard plasterboards can only support a limited surface load. For a panel that contributes to the stability of a tall piece of furniture, aim for a metal stud behind the board. A powerful magnet or the material detector can help locate these studs. If no stud is located where desired, specific expansion anchors for plasterboard (Molly type) distribute the load better.
Concrete or concrete block walls
A load-bearing concrete wall accepts either hammer-in anchors or standard screw anchors. Drill to the exact diameter recommended by the anchor manufacturer, not wider. A hole that is too large in concrete significantly reduces the holding power of the fixing.
Hollow bricks
Hollow bricks require expansion or chemical anchors. A standard anchor passes through the thin wall of the brick and holds nothing. The chemical anchor injects a resin that fills the cavities and provides a solid anchorage suitable for heavy loads.
Assembling the panel to the dressing unit
The panel is not only fixed to the wall. Its connection to the unit determines the strength of the structure as much as the wall anchorage. Two methods are most commonly used in kit or custom dressing configurations.
- Dowels and wood glue: drill aligned holes in the panel and the adjacent board, insert glued dowels, then clamp using clamps while drying. This process results in an invisible surface assembly.
- Confirmation screws (or eccentric screws): the pre-drilled unit accommodates a rotating locking system. The panel clips onto the unit by rotating a quarter turn. Quick and removable, this method is suitable for modular dressings that are planned to be reconfigured.
- Screwed metal brackets: the simplest solution, often used when the panel also serves as a separating wall. The brackets remain visible inside the unit, which is not an issue if shelves hide them.
In all cases, keep the panel perfectly vertical during assembly. A gap of one or two millimeters at the bottom results in a visible offset at the top of the panel along the entire height of the dressing.
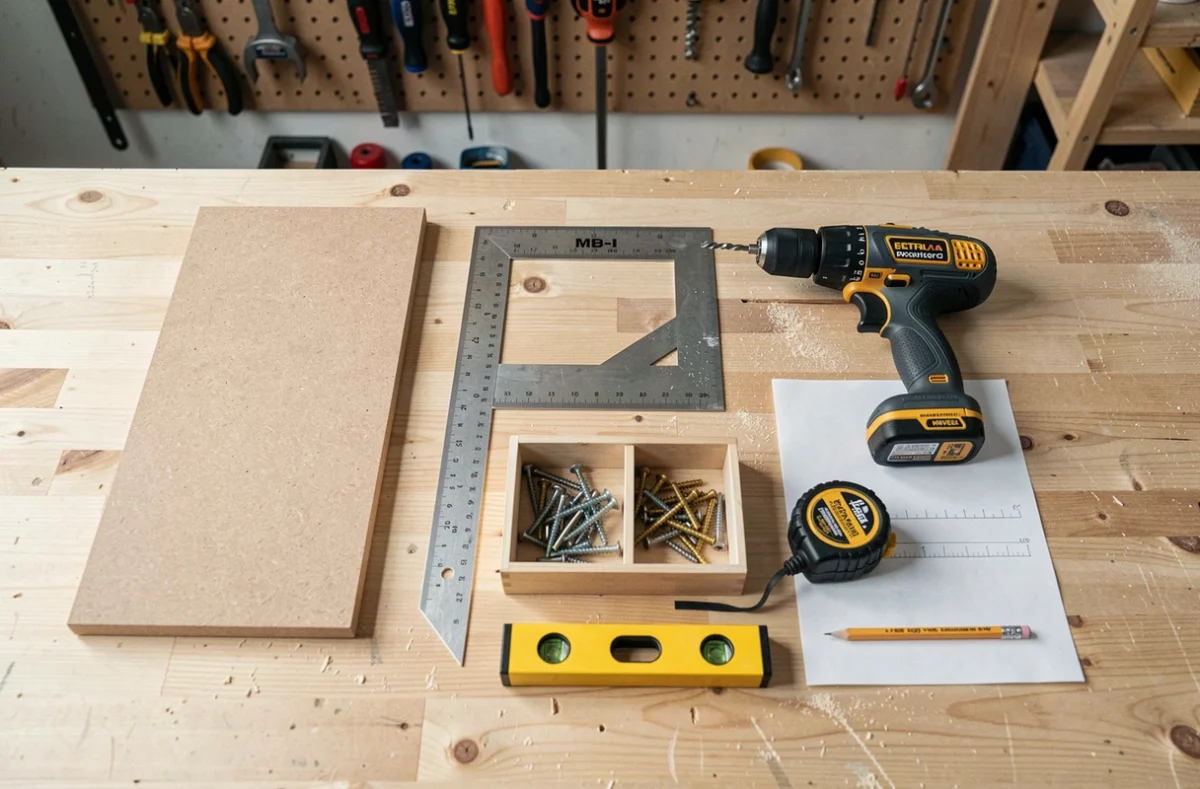
Finishing touches and anti-tip fixing
Once the panel is in place and the unit is assembled, two operations remain to be completed before considering the job finished.
The joints between the panel and the wall are treated with an acrylic sealant matching the color of the panel or wall. This sealant compensates for micro-gaps and prevents dust from accumulating in the gap. Apply a fine bead and smooth immediately with a damp finger for a clean result.
The panel does not replace a dedicated anti-tip device. A tall, shallow dressing can tip forward if a loaded drawer is opened or if a child climbs on a shelf. Manufacturers typically provide a strap or safety bracket to be fixed between the top of the furniture and the wall. This fixing should be placed in a stud or load-bearing material, never in plaster alone.
- Check that the anti-tip strap or bracket is well tensioned and anchored in a solid support.
- Check the plumb of the complete dressing one last time after tightening all fixings.
- Install finishing skirting boards at the bottom of the panel to hide any shims and achieve a clean connection with the floor.
A dressing whose side panel is installed on a verified wall, fixed with the correct anchors, and securely connected to the unit will not move, even after years of daily loading. The time spent on preparing the support and choosing the fixings pays off in durability.